Calling for leak detection can feel like inviting a big, expensive mystery into your backyard. In practice, it is one of the more straightforward service visits: the technician follows a fixed sequence that narrows the possibilities at each step, and most leaks are found in a single appointment without any digging.
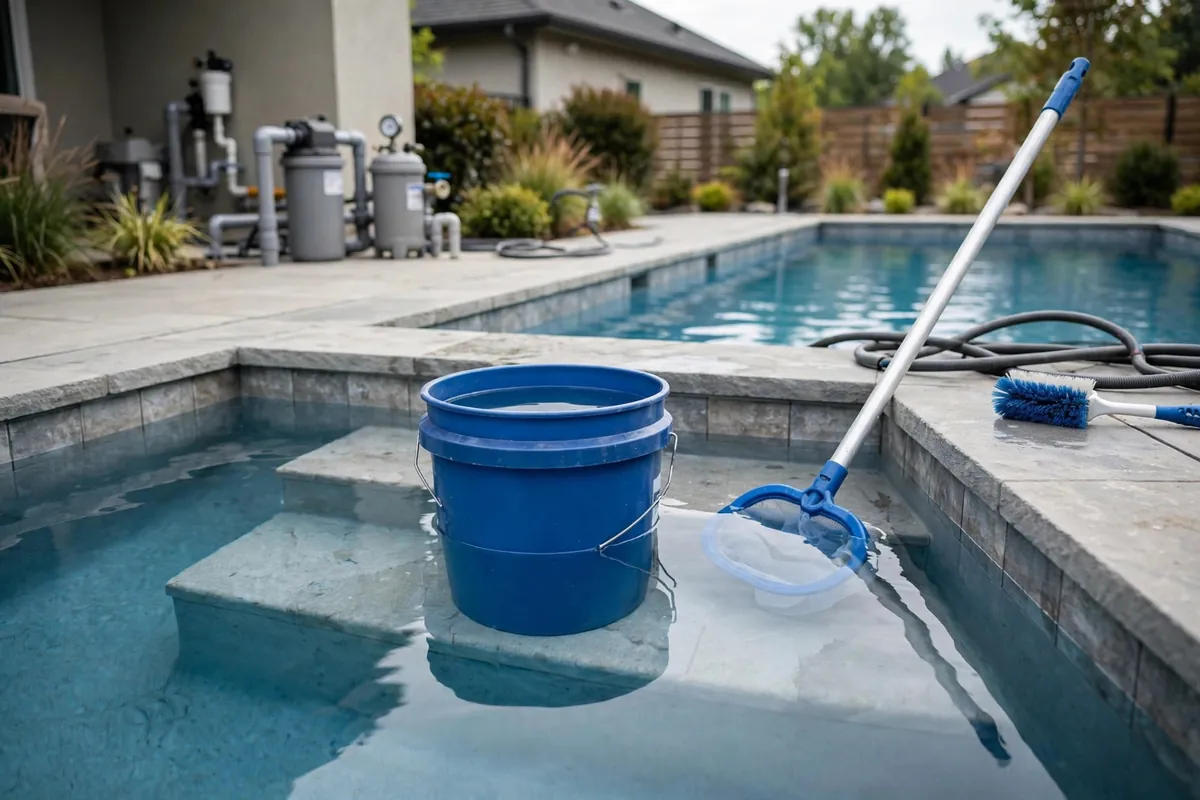
This guide walks through that sequence exactly as it happens, so you know what to expect, what the technician needs from you, and why each step matters. If you have already run a bucket test, you have completed step two before the truck even arrives.
In This Article
Step 1: The Interview And Visual Walkthrough
Every good detection visit starts with questions, because your observations eliminate whole categories of possibilities:
- How fast is the pool losing water, and how did you measure it?
- Does it lose water with the pump on, off, or both?
- Where does the water level stop falling, if it stops?
- Is the equipment pad wet? Is the waste line trickling?
- When did you first notice it, and has anything changed recently — new equipment, ground work, heavy storms?
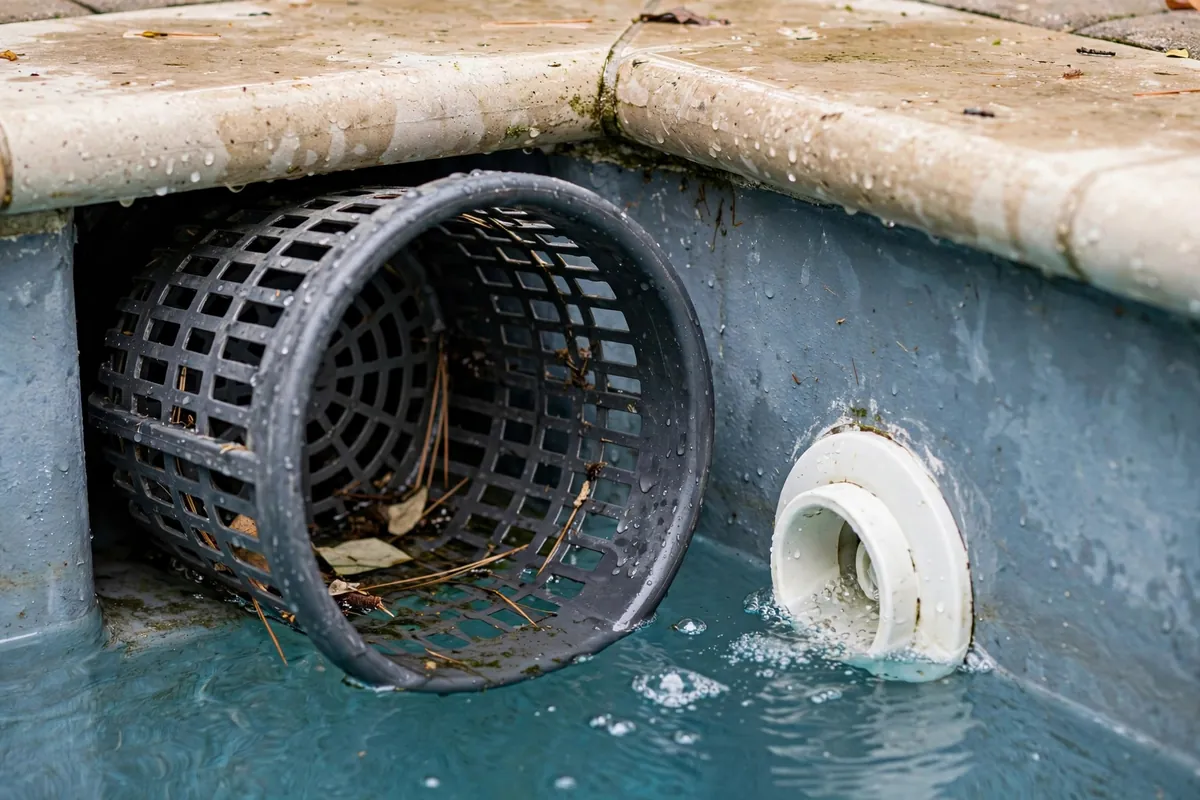
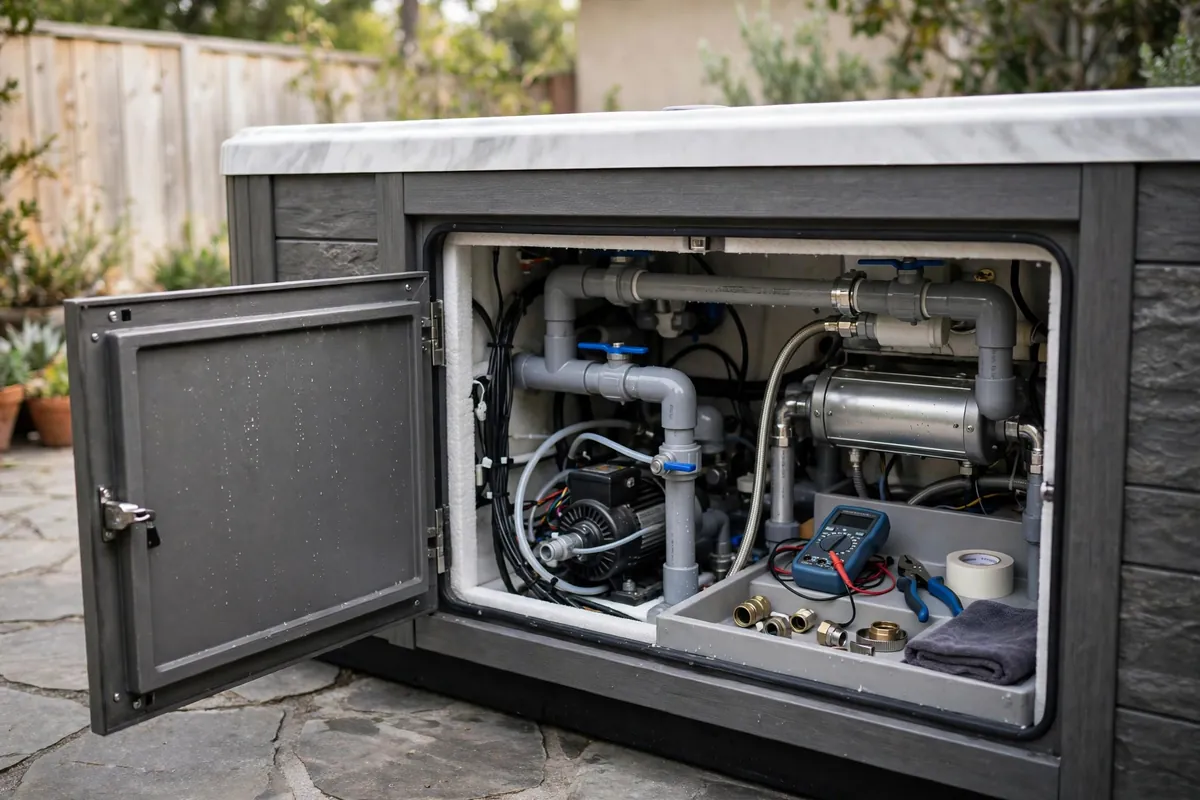
Then comes a slow walk of the pool and equipment pad: skimmer throats, tile line, visible fittings, pump, filter, heater, valves, and the waste line. A surprising number of "mystery leaks" turn out to be a dripping union or a weeping valve found in this walkthrough. The technician is also reading the equipment for age and condition — a twenty-year-old multiport valve and a five-year-old one suggest very different likely failures, and that context shapes everything that follows.
Step 2: Confirming The Leak
Before any equipment comes out, the technician confirms there is actually a leak — because a meaningful share of leak calls turn out to be evaporation, a stuck autofill, or splash-out.
- Your bucket test results are accepted as confirmation if they were done carefully.
- A fresh level check may be done on arrival: mark the level, run the system, and compare after a set period.
- The autofill gets checked. A misbehaving autofill is ruled in or out early, since it explains so many false alarms.
This step protects you: it is far better to discover evaporation now than after paying for a full detection workup. Honest technicians will tell you when the answer is "no leak."
This confirmation step also answers the most common homeowner question — is it a leak or just evaporation? — with evidence instead of guesswork. Skipping it risks paying for detection of a leak that was never there, so treat a careful confirmation as money well spent.
Step 3: Dye Testing The Suspect Spots
Dye testing is the workhorse of pool leak detection. With the pump off and the water as still as possible, the technician releases a small amount of specialized dye near each suspect — skimmer throats, return fittings, light niches, main drain, visible cracks. If the spot is leaking, the dye gets visibly pulled into it by the escaping water.
Dye testing is:
- Precise. It confirms the exact fitting or crack, not just the general area.
- Non-destructive. Nothing is opened, cut, or removed.
- Fast. Each spot takes minutes, so the whole pool can be worked through systematically.
The common leak spots — skimmer, returns, lights — are dye-tested first because they account for most leaks. If dye testing finds the leak, the visit often ends here with a repair plan.
Step 4: Pressure Testing The Plumbing
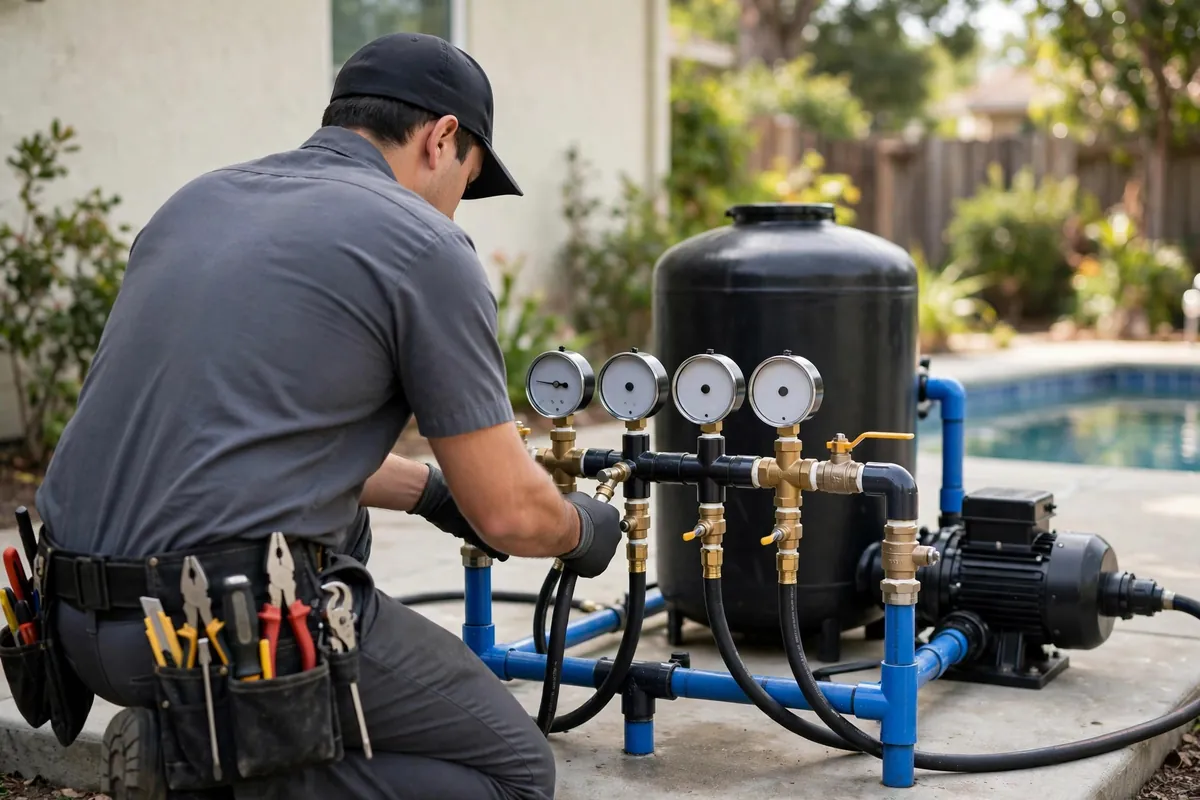
If the pool structure tests clean, attention moves underground. Each plumbing line — skimmer line, main drain line, each return line — is isolated with plugs and pressurized with air, then watched on a gauge.
- A line that holds pressure is innocent. It gets crossed off the list.
- A line that will not hold pressure has the break. The rate of pressure loss even hints at the size of the break.
Testing each line independently is what makes pressure testing diagnostic instead of guesswork. A whole-system test would only say "somewhere leaks" — individual tests say exactly which line, which tells the technician where to listen next.
Pressure testing uses air, not water, so there is no flooding risk, and it is done at controlled pressures that do not harm sound plumbing.
Step 5: Pinpointing And Reporting
Once the leaking line is identified, acoustic listening equipment pinpoints the break's location along that line — often within a small area, which keeps any excavation minimal and targeted.
The visit ends with a clear report:
- Where the leak is — the exact fitting, line, or crack.
- What repair involves — what gets opened, what gets replaced, and what stays untouched.
- What to do in the meantime — whether the pool can run normally, needs topping off, or should sit idle until repair.
You should never leave a detection visit unsure of what was found. If anything in the report is unclear, ask — a good technician would rather explain twice than leave you guessing.
It also helps to ask what to watch for after the visit: whether the pool can run normally, how quickly the repair should happen, and — if you also own a spa — whether spa leak detection follows the same process. Clear answers here prevent a second round of worry later.
What Happens After Detection
Detection and repair are usually separate steps, which is actually good news: once the leak is pinpointed, the repair is a defined job with a defined scope, not an open-ended hunt.
| Detection Finds | What Usually Comes Next |
|---|---|
| A leaking skimmer throat or fitting | Targeted repair of that fitting — often without draining the pool |
| A broken underground line | Small, targeted excavation at the pinpointed spot, then pipe repair |
| An equipment leak (seal, valve, union) | Repair or replacement at the equipment pad |
| A light-niche conduit leak | Sealing the conduit, usually without replacing the fixture |
| No leak — evaporation or autofill issue | No repair needed; guidance on managing the real cause |
For pool leak detection in Leesburg, we follow exactly the process above — confirm, dye-test, pressure-test, pinpoint, report. We are a 24/7 service with 30–45 minute arrival, so if your pool is losing water overnight or the pump is at risk, call (352) 703-8206 any time, day or night. For urgent situations our emergency pool leak service is available around the clock.