Underground water leaks are found with a deliberate sequence of non-invasive methods. Meter isolation proves a leak exists and identifies which line is losing water. Acoustic listening hears pressurized water escaping through soil. Thermal imaging reads temperature patterns at the surface. Pressure testing confirms exactly which pipe section is breached. And tracer gas pinpoints the stubborn leaks that defeat everything else. Each method answers a different question, and used together they mark the break's location before any digging begins.
If you are seeing signs of a service line leak or soggy spots with no explanation, this is what happens when a professional comes to find the source — no exploratory trenches, no torn-up landscaping on a guess.
In This Article
- The Investigation Always Starts At The Meter
- Acoustic Listening: Hearing Water Through Soil
- Thermal Imaging: Reading The Surface
- Pressure Testing: Proving Which Pipe Is Breached
- Tracer Gas: The Closer For Stubborn Leaks
- Line Locating: Mapping What Nobody Documented
- When Excavation Becomes The Diagnostic
- What The Technician's Report Should Tell You
- After The Leak Is Found
The Investigation Always Starts At The Meter
Before any instrument touches the ground, the technician establishes two facts: is water actually leaking, and which line is losing it. The meter test — everything off, watch the dial — answers the first. Isolation testing answers the second: valves separate the service line, the irrigation system, and the house plumbing, and each segment is tested independently.
This step matters more underground than anywhere else, because yard symptoms are ambiguous. A soggy patch could be the service line, a cracked irrigation lateral, a drainage problem, or just a low spot that collects rain. Isolation testing eliminates suspects systematically instead of chasing the wettest grass. A surprising number of 'service line leaks' turn out to be irrigation failures caught at this stage — which is why our guide to finding irrigation leaks zone by zone exists as a companion to this one.
Acoustic Listening: Hearing Water Through Soil
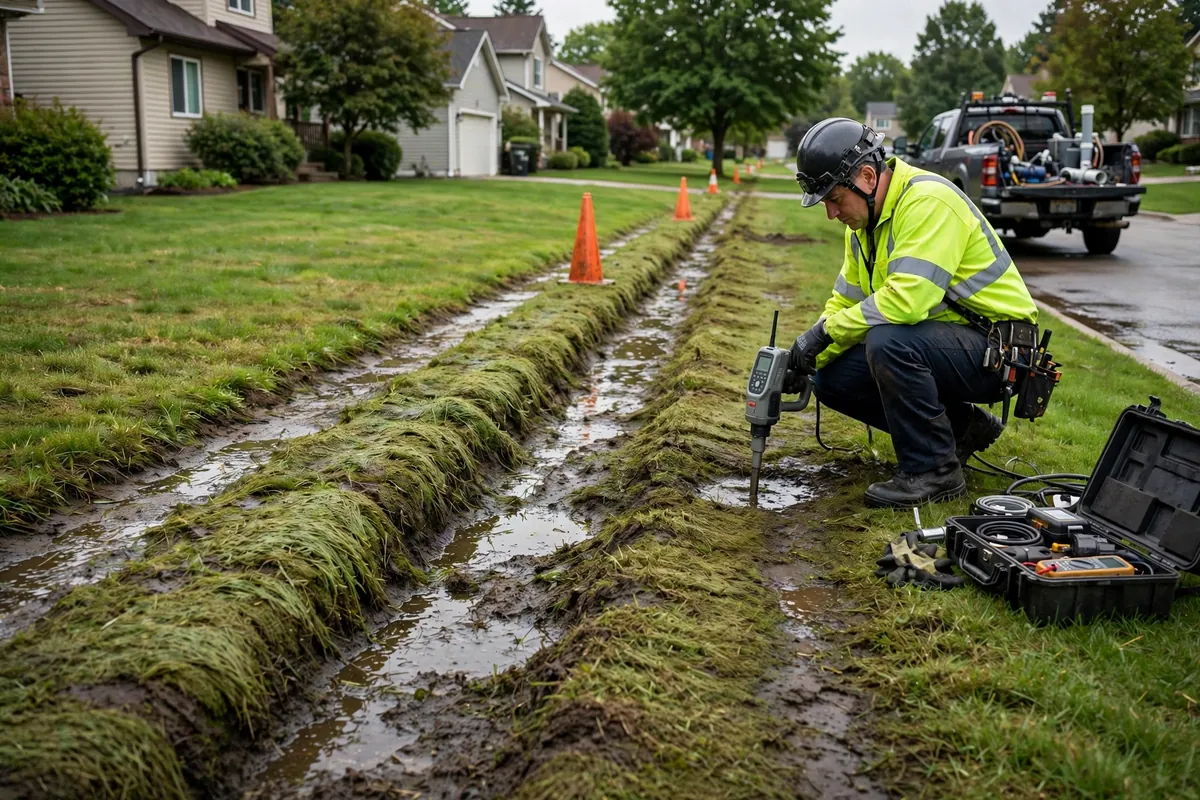
Pressurized water escaping through a break vibrates the pipe wall, and that vibration travels outward through soil to the surface. Acoustic leak detection uses ground microphones — sensors pressed to the soil, pavement, or turf — to pick up that vibration. The technician sweeps a grid pattern, and the sound grows louder as the sensor approaches the break.
Soil type changes the game. Sandy Florida soil transmits sound moderately well but absorbs more energy than dense clay, so the audible footprint of a leak is smaller here — the technician works a tighter grid. Background noise is the eternal enemy: pool pumps, traffic, and even wind in trees can mask a faint leak signature, which is why acoustic work goes best in a quiet yard and why experienced ears matter as much as the equipment.
Acoustic listening finds pressurized leaks — water supply lines, not gravity drains — and it is the workhorse method for service lines and buried supply piping. When the ground goes quiet except for one distinct hissing point, the search is nearly over.
Thermal Imaging: Reading The Surface
Thermal cameras read surface temperatures, and buried leaks disturb those temperatures in detectable ways. A hot water line leak warms the soil above it; a cold water leak can cool the surface where escaping water evaporates or chills the ground. The camera displays these differences as color patterns across the yard.
Underground, thermal imaging is a scanning and corroboration tool rather than the primary finder. It surveys large areas quickly — a whole yard in minutes — and highlights thermal anomalies for the acoustic equipment to investigate. Its limits outdoors are real: sun exposure, shade patterns, irrigation, and even different grass types all create temperature variations that have nothing to do with plumbing. The best thermal work happens early in the morning before the sun loads the ground with heat, and every anomaly gets verified by another method before anyone marks a dig site.
Pressure Testing: Proving Which Pipe Is Breached
When the suspect line is identified, pressure testing delivers the verdict. The technician isolates a section of buried pipe, attaches a gauge, pressurizes it, and watches. A section that holds pressure is innocent; a section whose pressure decays has a breach somewhere along its length.
For service lines, this usually means testing from the meter to the house shutoff as one segment. For longer or branched systems, the line is tested in subsections to narrow the break to a particular stretch — enormously valuable when the alternative is excavating a hundred-foot run on a hunch. Pressure testing also catches multiple leaks: if two sections both lose pressure, the repair plan addresses both instead of fixing one and rediscovering the other weeks later.
Tracer Gas: The Closer For Stubborn Leaks
Some leaks resist every other method: pinholes too quiet for microphones, leaks under pavement that muffles sound, or saturated soil that confuses thermal patterns. For these, technicians drain the line and introduce tracer gas — a safe hydrogen-nitrogen mixture.
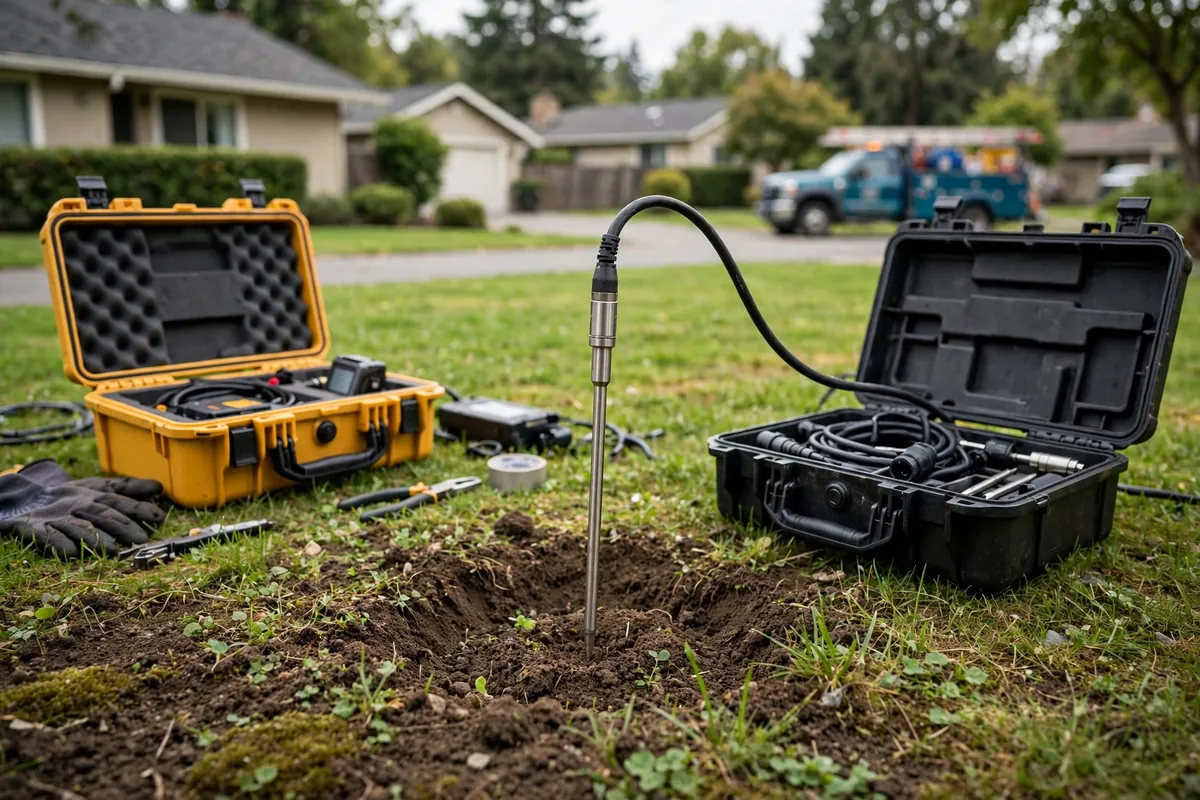
Hydrogen molecules are the smallest in nature, so the gas slips through the break, migrates upward through soil and porous materials, and reaches the surface directly above the leak. A handheld detector swept across the ground alarms where the concentration peaks. Because the gas rises vertically rather than traveling along the pipe trench, it marks the break with precision the other methods cannot always match.
Tracer gas takes setup time — the line must be drained, the gas introduced, and time allowed for migration — so it is deployed strategically, not routinely. When a technician proposes it, that usually means the first-line methods have narrowed the area but not closed the case, and this is the tool that finishes it.
Notice the sequence: cheap, fast tests first (meter, isolation), then scanning (thermal), then pinpointing (acoustic), then confirmation (pressure), then the specialist tool (tracer gas). Each step is more effort than the last, so the investigation spends the expensive effort only where the cheap tests point.
Line Locating: Mapping What Nobody Documented
Finding the leak presumes knowing where the pipe runs — and in older homes, nobody documented it. Electronic line locators solve this: a transmitter induces a signal onto metallic pipe (or onto a tracer wire laid with plastic pipe), and a receiver above ground traces the signal's path, marking the route with paint or flags.
For plastic lines without tracer wire, a plumber's sonde — a small transmitter pushed through the line on a rod or fish tape — serves the same purpose. The located route is then cross-checked against the meter position and the house entry point. Only after the route is confirmed does pinpointing begin in earnest. Skipping this step is how excavations miss the pipe by three feet.
When Excavation Becomes The Diagnostic
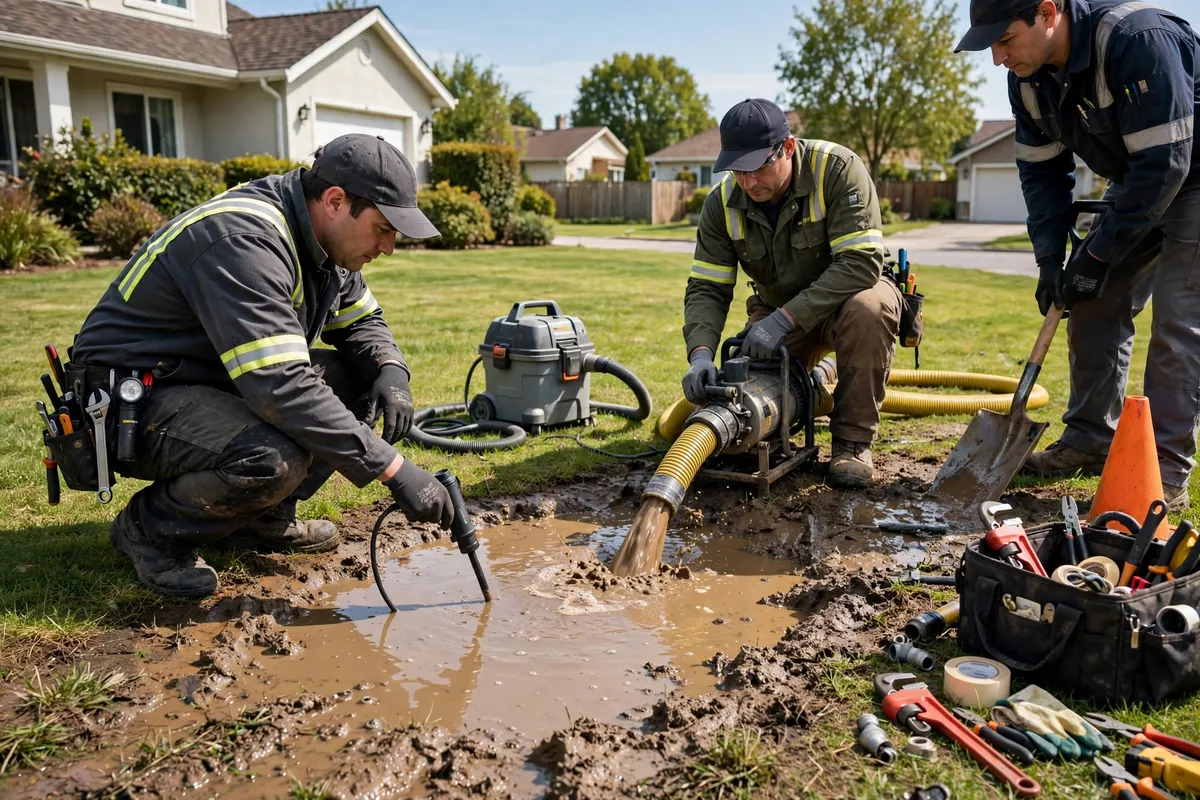
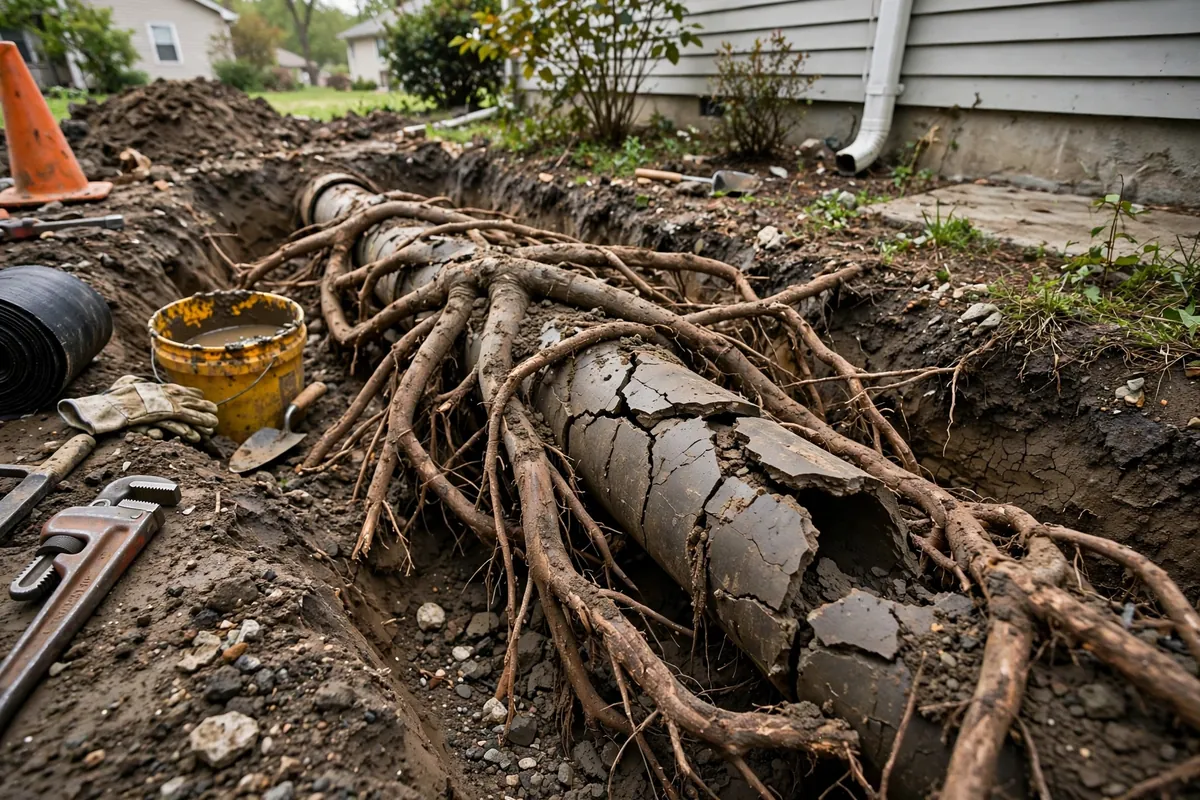
Honesty requires saying it: occasionally, non-invasive methods narrow the leak to a stretch of pipe but cannot mark the exact break — deep burial, extreme noise, or complex branching can all leave residual uncertainty. In those cases the professional excavates at the most probable point, exposes the pipe, and visually confirms before repairing.
This is not failure; it is the method of last resort applied deliberately, at one carefully chosen spot, after every non-invasive option has done its work. A ten-foot exploratory exposure at the 90-percent location beats a hundred-foot trench on a guess — and it beats living with the leak while hoping for certainty that the site cannot provide.
What The Technician's Report Should Tell You
A professional detection visit ends with documentation, not just a paint mark on the grass. Expect:
- Mark any soggy areas, green stripes, or hissing sounds you have noticed — flags or photos help
- Know where your meter box is and make sure it is accessible, not buried under mulch
- Turn irrigation off before the visit so its noise and water do not confuse the readings
- Note when symptoms first appeared and whether they are getting worse
- Keep the yard quiet during acoustic work — pause pool pumps and equipment if asked
- Have recent water bills available if high usage is part of the story
This report is what turns a diagnosis into a repair plan — and it is what you hand to your insurer if you file a claim. If a company will not put its findings in writing, that tells you everything about how much to trust the paint mark.
After The Leak Is Found
With the break located, the repair is usually a targeted excavation and section replacement — or a full line replacement if the pipe's condition warrants it. Our guide to service line leak signs covers what happens next, and trenchless repair options explains when the fix can avoid open trenches entirely. If the line in question runs under your slab rather than through the yard, slab leak detection methods follow the same find-first philosophy indoors.